HOW I TAKE MY LANDSCAPE PHOTOS
I have been asked a few times lately how I photograph landscapes and bring out so much amazing colour and light in them, well here is how I do it:
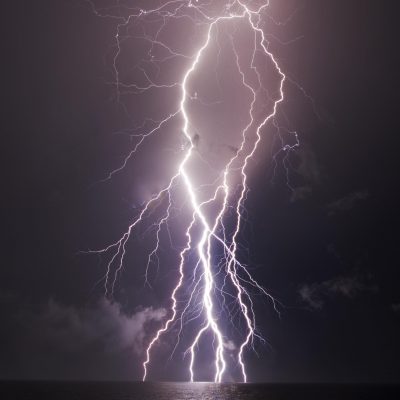
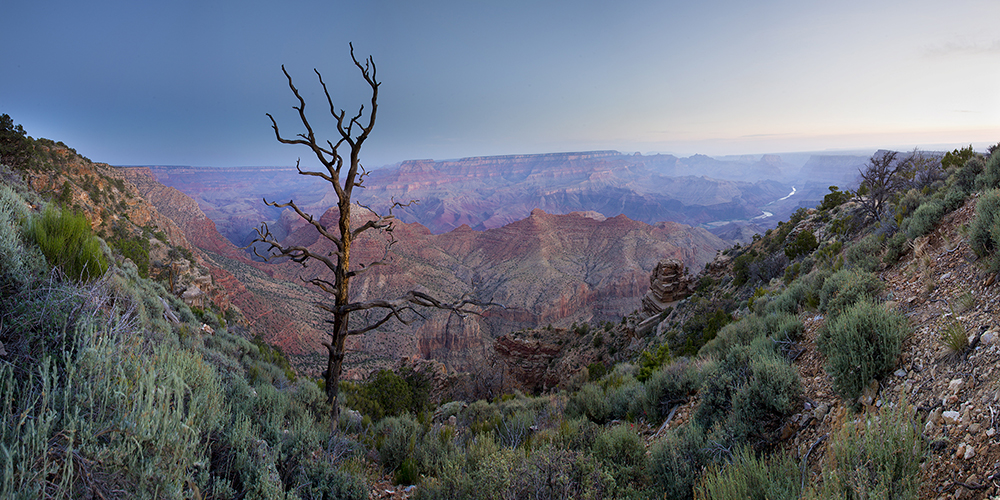
(ISO100, F22 @ 1/5 second exposure)
Things you need before you start –
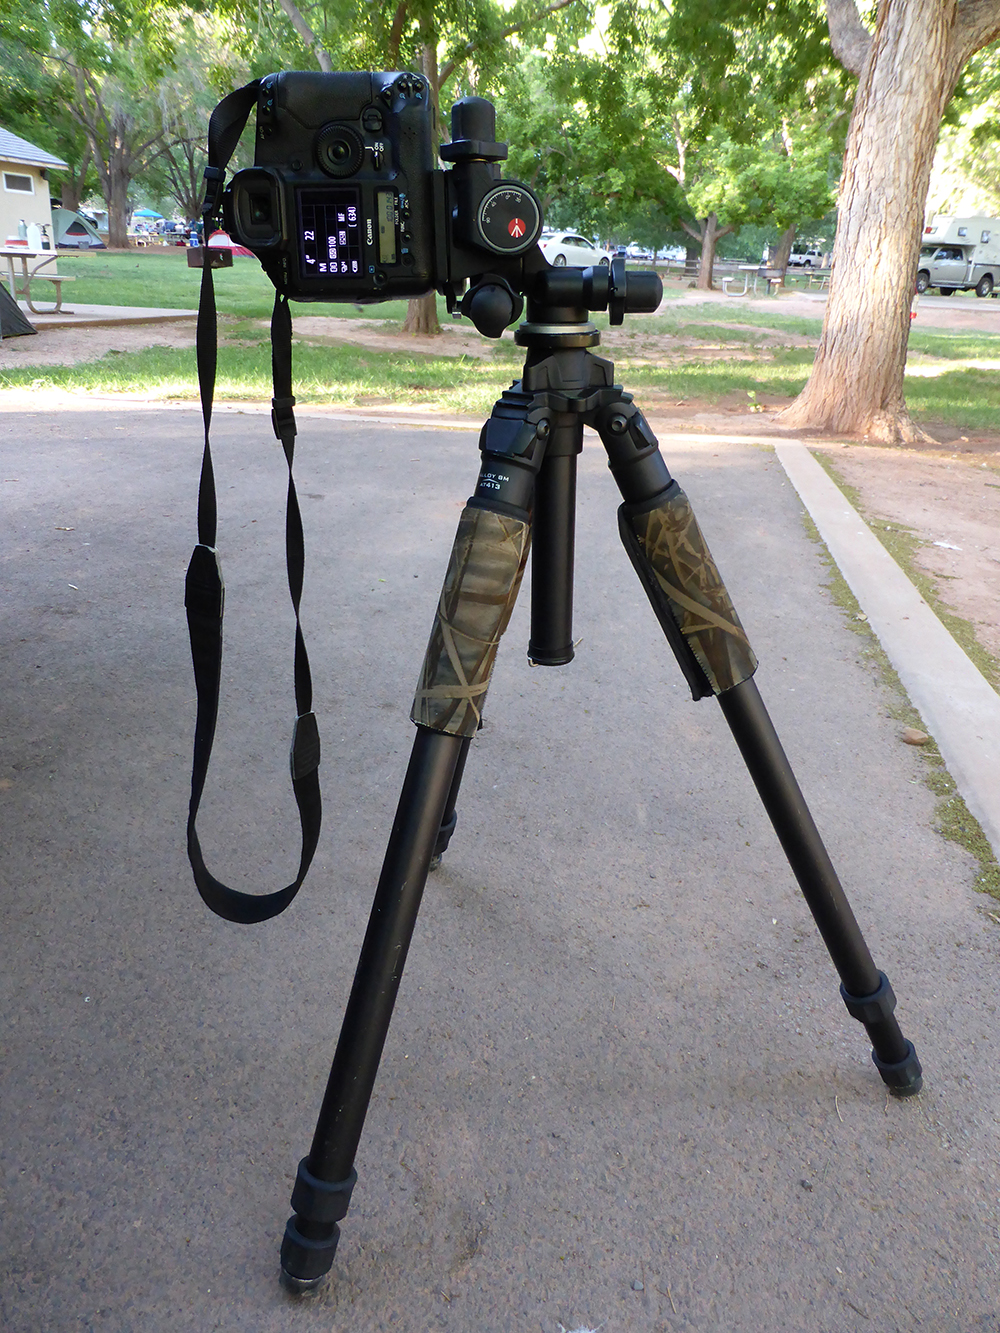
- A sturdy tripod with a bubble level (I use an Induro AT413)
- A mechanical tripod head (I use a Manfrotto 410)
- SLR Digital Camera with manual mode (I use a Canon 1DIV)
- A wide angle lens (I use a Canon 16-35mm F2.8)
- Photoshop CS6 (But any version should do)
- Remote or wired trigger
- An early dinner or a 4 am alarm.. 🙂
First rule for taking landscape photos is don’t attempt to take them in the middle of the day, I see so many people out there with their cameras and tripods taking photos at 1pm. The light is way too harsh and at best you’re going to get an ok photo that’s going to sit in your photo library and no one will ever see it!
My number one rule for taking landscape photos, actually just about any photo is only take photos an hour each side of sunrise and sunset.
Some of the best landscape photos I have taken where actually 45 minutes before the sun came up. Remember since you’re using a tripod you can use long exposures (1 sec – 30 sec) to bring out those stunning colours even when it seems too dark to your eye.
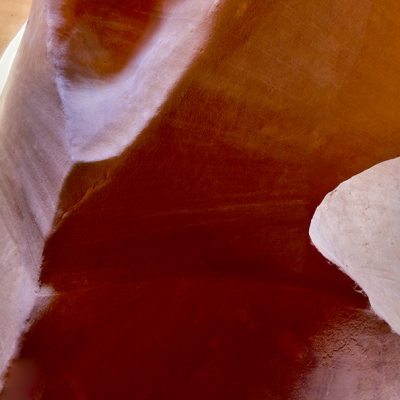
(ISO100, F10 @ 5 second exposure)
Once you have found a landscape you want to photograph you need to figure out if its going to be best at sunrise or sunset. Most of the time if you want beautiful colours and nice blue sky I would have the sun behind me, if you want to capture the sun rays like the first photo on this blog then set it up facing towards where the sun is going to rise/set.
When capturing a sun rays panoramic you have a very small window of opportunity as it only works when the sun it just above the horizon, so make sure you have all your settings on the camera ready to go before that moment arrives.
Setup your tripod up first, you need to make sure your tripod is completely level before you attempt taking any photos (This helps a lot when stitching the photos in Photoshop later) You then need to turn your mechanical head to portrait, this way you get a broader view and I have found this works the best.
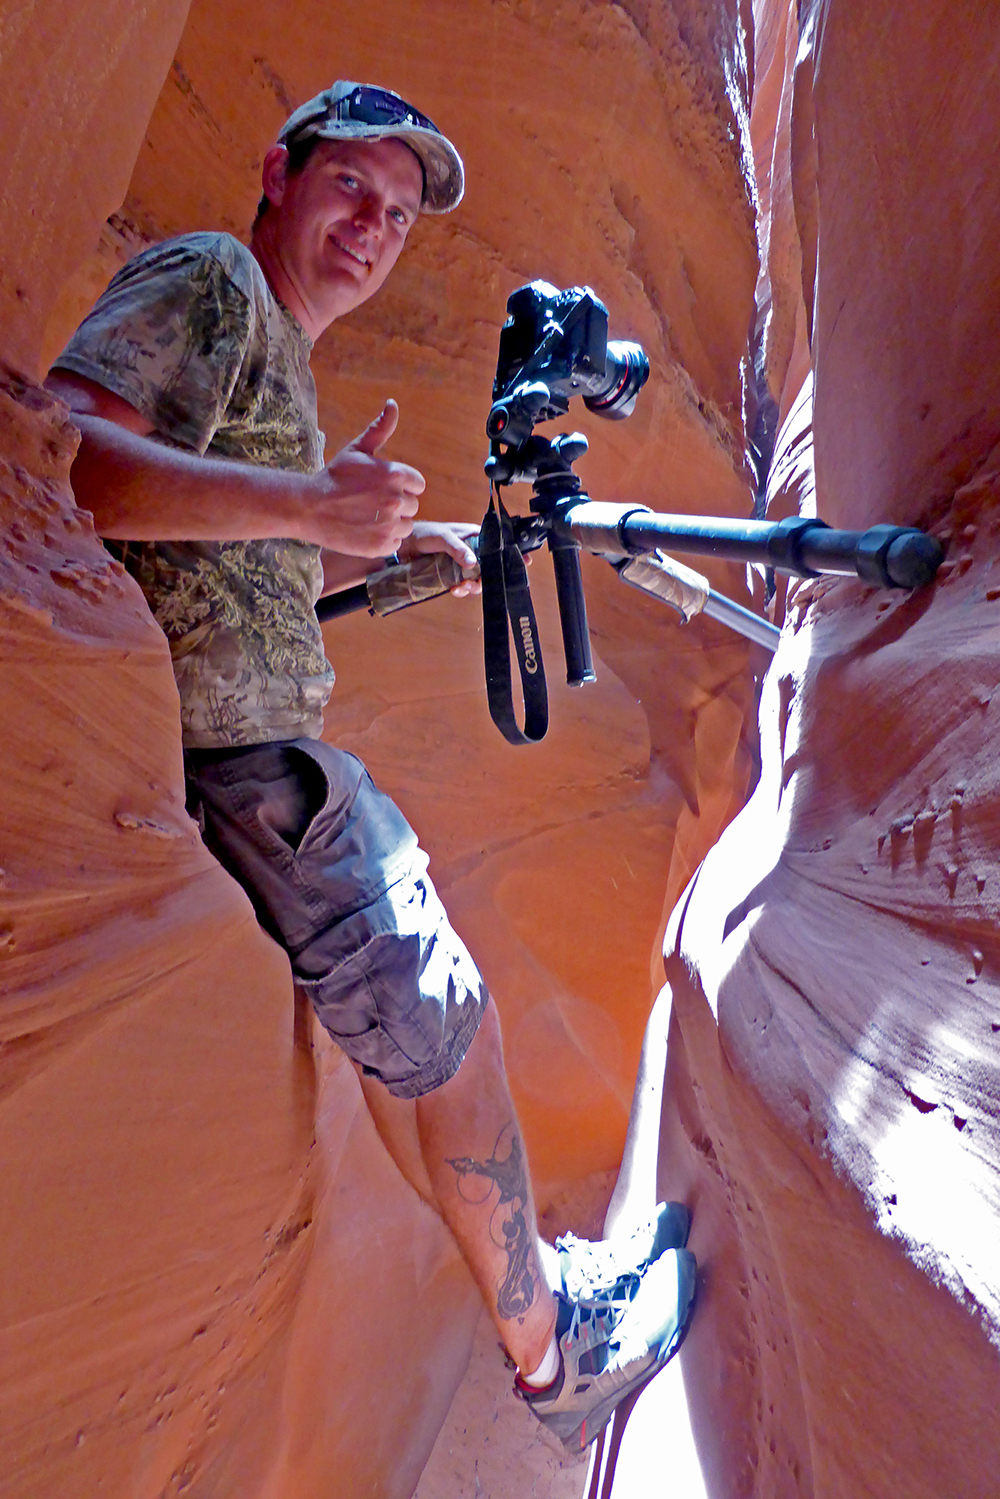
YOU CAN MAKE A TRIPOD LEVEL PRETTY MUCH ANYWHERE..
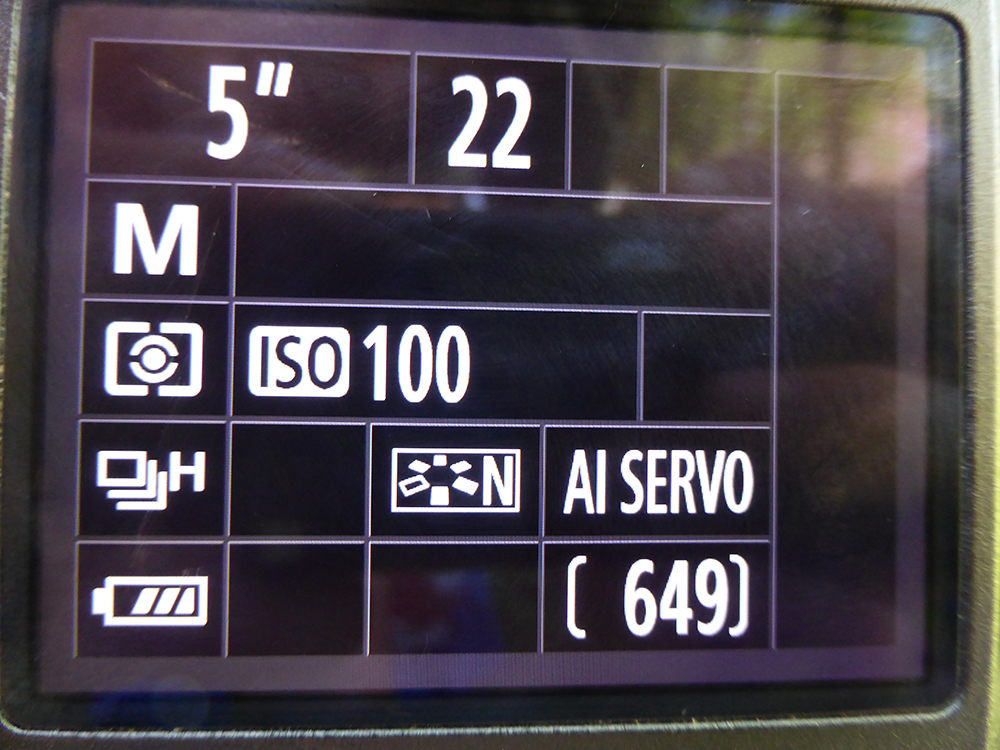
You then need to switch your camera to full manual (M) on the dial on top, also switch the camera lens to manual and set it to infinity (the funny little sideways 8 symbol). Now to setup the camera settings; the most common settings I use for landscapes are ISO100, F20 and the shutter speed with depend on how light or dark it is. Play with your toggle wheel until you get the right exposure setting, there is a bar on your screen that shows you if its going to be to bright or too dark. For sunrise or sunset I would usually set it for a couple of notches down from the centre.
Another thing you will need to do is go into your cameras menu and change the quality of photo to the highest quality available, RAW if you can.
You can leave it on the factory set JPEG if you want but RAW will give you a much higher quality photo and allow much better post processing later on.
Once you have your camera mounted on your tripod you can now position it to where you want the photo taken, look through your eye piece and adjust the mechanical head to where you want the horizon and also what focal length you prefer. Another thing to check at this stage is that your horizon is straight-ish in the frame.
The rule of thirds is a good one to follow but totally up to you.
You’re now ready to take photos, I usually limit the amount in one panoramic to around 6. This way the photo doesn’t turn out too long and skinny (I aim for 6/3 or 6/2.5 once they are stitched, these look best on the wall).
Now this is where the mechanical head comes into its own, I usually start to the left and move the camera to the right. Take a couple of test photos first to see where you want the photo to start and to end, this is also a good chance to check the exposure on your camera screen to make sure you’re happy with the colours and light in the photo.
Once your in place use your remote to take the first photo then turn the knob on the mechanical head 4 – 5 turns to the next photo position, take the next photo then repeat again and again until you have your 4 – 6 photos. The amount you turn the mechanical knob varies so this takes a bit of experimenting with, just make sure you turn the knob the same amount of turns for each photo (The aim is to overlap each photo by a third).
Now that you have your photos you can now get on to photoshop and begin stitching them together.
I import all my photos using Adobe Bridge CS6, from here I can also load them into Photoshop which makes it really easy.
In Adobe Bridge select the photos you want to stitch then go to TOOLS, PHOTOSHOP then click on PHOTOMERGE.
This will bring up a new window with your selected images, from here you should be able to just click OK and photoshop will do the rest. If you have set your tripod up correctly and followed my instructions it should bring up a fully stitched photo after a few minutes, from here you can check your horizon is straight and then crop to your desired height and width (I usually aim for an aspect ratio of 6:2 or 6:2.5).
Once you have cropped and straightened your photo, go into LAYER and scroll right down to the bottom to MERGE LAYERS, this will connect all the photos together permanently.
Finally go back into LAYERS and scroll down to the bottom again and click FLATTEN IMAGE.
Now that you have your stitched panoramic complete, this is your chance to adjust any colours or lighten or darken any areas you want. You can do this in photoshop by clicking IMAGE then ADJUSTMENTS.
Your photo is now complete, go up to FILE then SAVE AS, I usually save my panoramic in TIFF format but this is totally up to you.
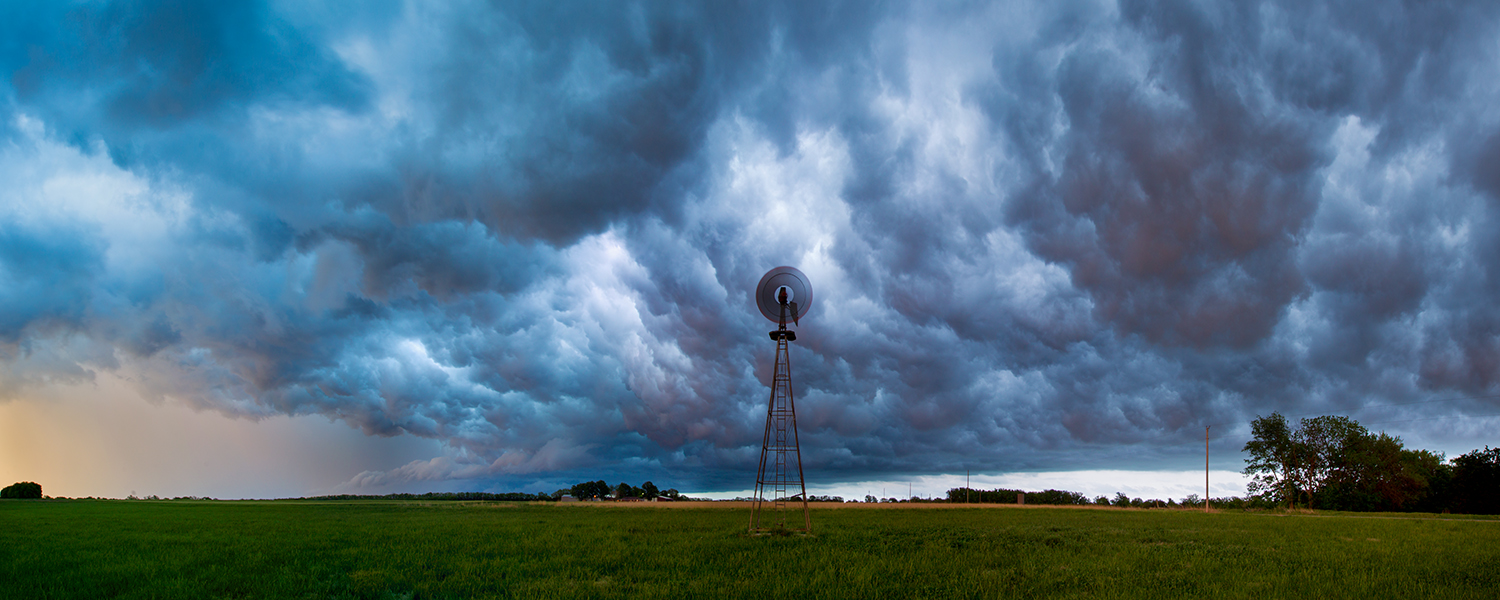
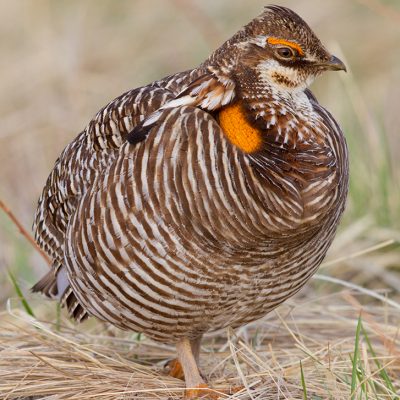
(ISO100, F10 @ 2.0 second exposure)
The biggest thing you have to remember is practice, practice and and then practice some more, the more photos you take the better you’re going to get.
I hope someone finds this information useful, if you have any questions please send me an email or contact me through my website.
If you have used one of my guides please do me a favor and click the link below to review me on Trip Advisor and Google, it helps me out a lot.